
🚀 Rev Up Your Ride with BBK Performance!
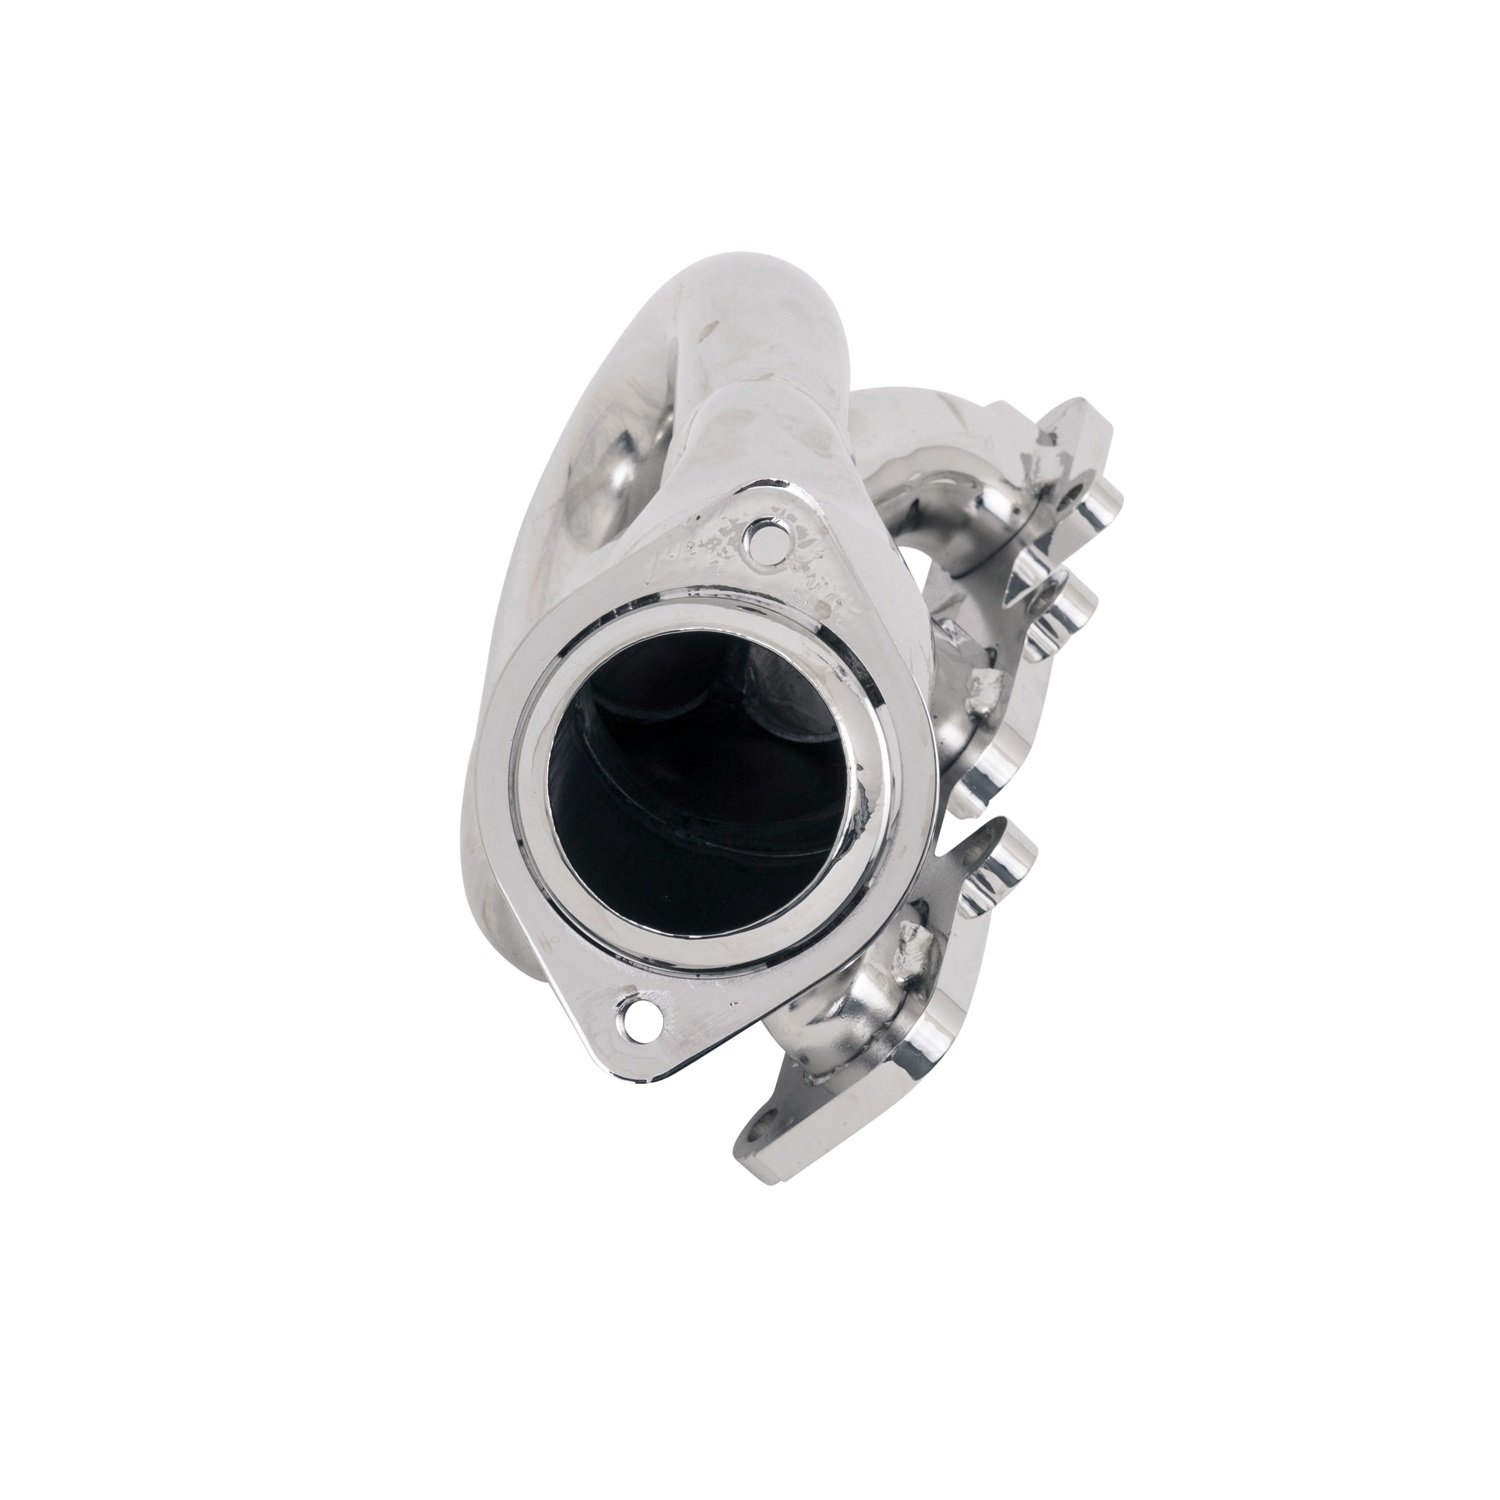
The BBK Performance 1442 Exhaust Header is a vehicle-specific auto part designed for 2011-2014 Mustang V6 models. Made in the USA, these tuned-length headers feature a sleek chrome finish and adjustable design, ensuring optimal performance and a perfect fit. Weighing only 5.97 kg, they combine lightweight construction with durability for an enhanced driving experience.
| Manufacturer | BBK Performance Parts |
| UPC | 197975014429 |
| Global Trade Identification Number | 00197975014429 |
| Model | HDRS FORD 3.7 PR |
| Product Dimensions | 50.8 x 22.86 x 27.94 cm; 5.97 kg |
| Item model number | 1442 |
| Exterior | Metallic Finish |
| Manufacturer part number | 1442 |
| OEM Part Number | 1442 |
| Special Features | Adjustable |
| Item Weight | 5.97 kg |
A**E
Self-installation of BBK Short headers on a 2012 Mustang V6 is only for the brave...
Only tackle installing these if you are mechanically gifted, have a good set of tools, a garage/workshop, lots of patience and plenty of time (at least 8 hours, or longer without the special tools mentioned below). While the install looks simple, it's actually a huge, huge pain. The headers were not designed with ease of installation in mind at all.First step is to jack up the front end and support safely with axle stands. This is so that you can lie comfortably under the vehicle and work a socket wrench on the X-pipe retaining bolts. My experience dictates you liberally spray all the nuts on the exhaust manifold joints with PB Blaster penetrating fluid. That product works amazingly well and will free up those corroded fasteners, especially the ones to the X-pipe. I waited overnight and the nuts came free with ease. I say from experience as the first side I didn't use penetrating fluid and I couldn't budge the nuts at all and ended up cutting the studs. The other side came apart easily after an overnight soak.Access to the passenger side overall is not easy at all It's a little better on the driver side. I did the worst side first. You will need a ratcheting socket wrench, long socket, wobble extensions and a universal joint to get way up to the X-pipe-to-manifold nuts past the catalytic converter and around the O2 sensors. It is possible to get your other hand up there to guide the socket (19/32" / 15mm) onto the nut. Removing the nuts, the clamp plate will fall back and the flared joint will drop only slightly as the driver side of the X-pipe is still attached. From inside the engine bay, use a long socket, small extension and ratcheting wrench and undo the small nuts (1/2") on the manifold studs. There is straight line sight to each nut around the manifold profile. Most likely, the nut will move a distance then the stud will rotate and come completely out. The nut jams on the rusty threads. There is a small square on the end of the stud, so to remove the nuts from the removed stud, I clamped them in the rubber jaws of my vice (thereby protecting the threads) and holding the stud flats, undid the nuts to remove them.With the nuts and/or studs removed, the manifold and multi-sheet steel OEM gasket can be removed from the engine bay. It will help on the passenger side, to remove the one bolt holding the coolant line and lifting the tube up out of the way.I now moved to the driver side and did the same to remove the manifold and gasket. Access is much easier to all bolts and took no more than 30 mins, compared with the 2 hours on the passenger side. Remember I had to cut the X-pipe studs on that side which took an hour to work out what to do. I would allow 2-3 hours to get to this stage overall from starting with the car on the ground.I undid the clamps at the rear of the X-pipe and the X-pipe was a nice loose fit to be able to slide it back a little to reinstall the new headers with their studs fitted. It was self-supporting, but I put a block of wood under it at the X, to avoid straining the O2 sensor wires, should it drop.I had already decided to use Stage 8 stainless steel locking fasteners (from Amazon) on the manifold reinstall. I found that there is no straight line access to nearly all the bolts for a socket, maybe the upper end ones, but that's it. That's where a 7/16" pivoting ratcheting wrench was a must to avoid many small turns of an open ended wrench and hours of work. I partially inserted a couple studs in the upper holes to support the gasket at each end then fitted the header and a Stage 8 bolt in the middle upper flange hole. I used anti-sieze lube on the threads. With the gasket now held in place, the studs were removed one by one (to keep the gasket lined up and a bolt fitted loosely.Now the really hard part! On the passenger side, any more than a single finger access to the lower bolts from under the header is impossible. I found that I could use my sprung-loaded pick up tool (operated by 2 fingers and a thumb, with four small gripping fingers at its other end to grab small parts). I held the bolt with the picker and maneuvered it into one of the lower holes. I then placed the ratcheting wrench onto the head of the bolt and since the Stage 8 bolt has a shoulder, I could push the bolt against the threaded hole with the wrench. Then I removed the picker and using a finger under the manifold pushed on the end of the bolt and stated tightening it with the wrench. Be careful to avoid cross-threading the bolt. The angle of the face makes it tricky to judge the alignment. I didn't use the original studs, but a similar process is likely needed. On the driver side, I was able to get a hand up from underneath the start some of the lower bolts as there's little in the way under the headers on that side.The Ford Service Manual indicates 30 lbft torque for all the fasteners in this install. I couldn't get a torque wrench onto to any of the bolts apart from the front upper one. I therefore tightened them as tight and evenly as I could with the 6" long wrench, working back and forth across all three flanges to compress the gasket evenly.Unlike the OEM gasket, the BBK is a fibrous-type material so is more compliant than the OEM steel one. Hopefully that doesn't mean it will blow a leak after all the work. That's my biggest fear right now. I haven't fitted the locking tabs yet to the manifold bots as I want to recheck and tighten them after 500 miles, in case the gasket relaxes. Then I'll try and fit the locking tabs - it won't be easy to fit them and insert a circlip!Now the last bolts to tighten are the X-pipe to manifold. I lifted the X-pipe up from below and fitted one nut (the lower position) to hold everything together. Then I fitted the lock washer, washer and nut combo to the upper stud from inside the engine bay. Be very careful not to drop anything as the parts may lodge somewhere where you cannot find them! From below, using the same extension combination as before, the upper nut was tightened enough to fit the nut/washer combo to the lower stud. Then the nuts were evenly tightened so that the clamp plate was square and finally the nuts torqued to 30 lbft. The X-pipe clamp is now tightened. Finished at last - a total of about 8 hours spread over two evenings and a Saturday morning.The exhaust note is nice and throaty at about 4000rpm and above. I'm going to upgrade my Bama engine tune for this mod, though it isn't technically necessary to have a special tune to gain some hp benefit. The exhaust note comes as standard and is perhaps the main point of these anyway.I felt heat from the manifold is more noticeable than before, with a potential risk of overheating the wiring loom above on the driver side and the coolant tube and lower harness on the passenger side. I've ordered some insulating heat wrap to apply to the headers. That will also retain heat in the gases and thereby maintain exhaust gas velocity, improving hp. It won't look as good as the chrome, but to be honest, I expect the headers to rust over time. Heck, they were already rusty on arrival! Manufactured Jun 2014, they arrived rusty in Feb 2015. Others have commented on this in other website reviews.If you like a challenge, fit these yourself. If not get them fitted by your local dealer for maybe $200 or so at a guess.
J**S
Trash
Looked like someone pulled it off a junk car and sent it to me, rusted ,worn bad welds definitely used
T**L
still poor quality from
had welding defects....holes....exhaust leaks....had to pay twice to get headers installed....amazon did me right.....refund without return....plus part of install...still poor quality from BBK
Trustpilot
2 months ago
3 weeks ago